The Owl Clock project began after watching
Hels Sheridan around June time during a Creative Expressions show. I missed the opportunity to buy and it took ages to source clocks as everywhere I looked had sold out, but I never gave up and eventually managed to acquire three.
The clock on the left is the first complete project and below is the story of how I achieved this result.
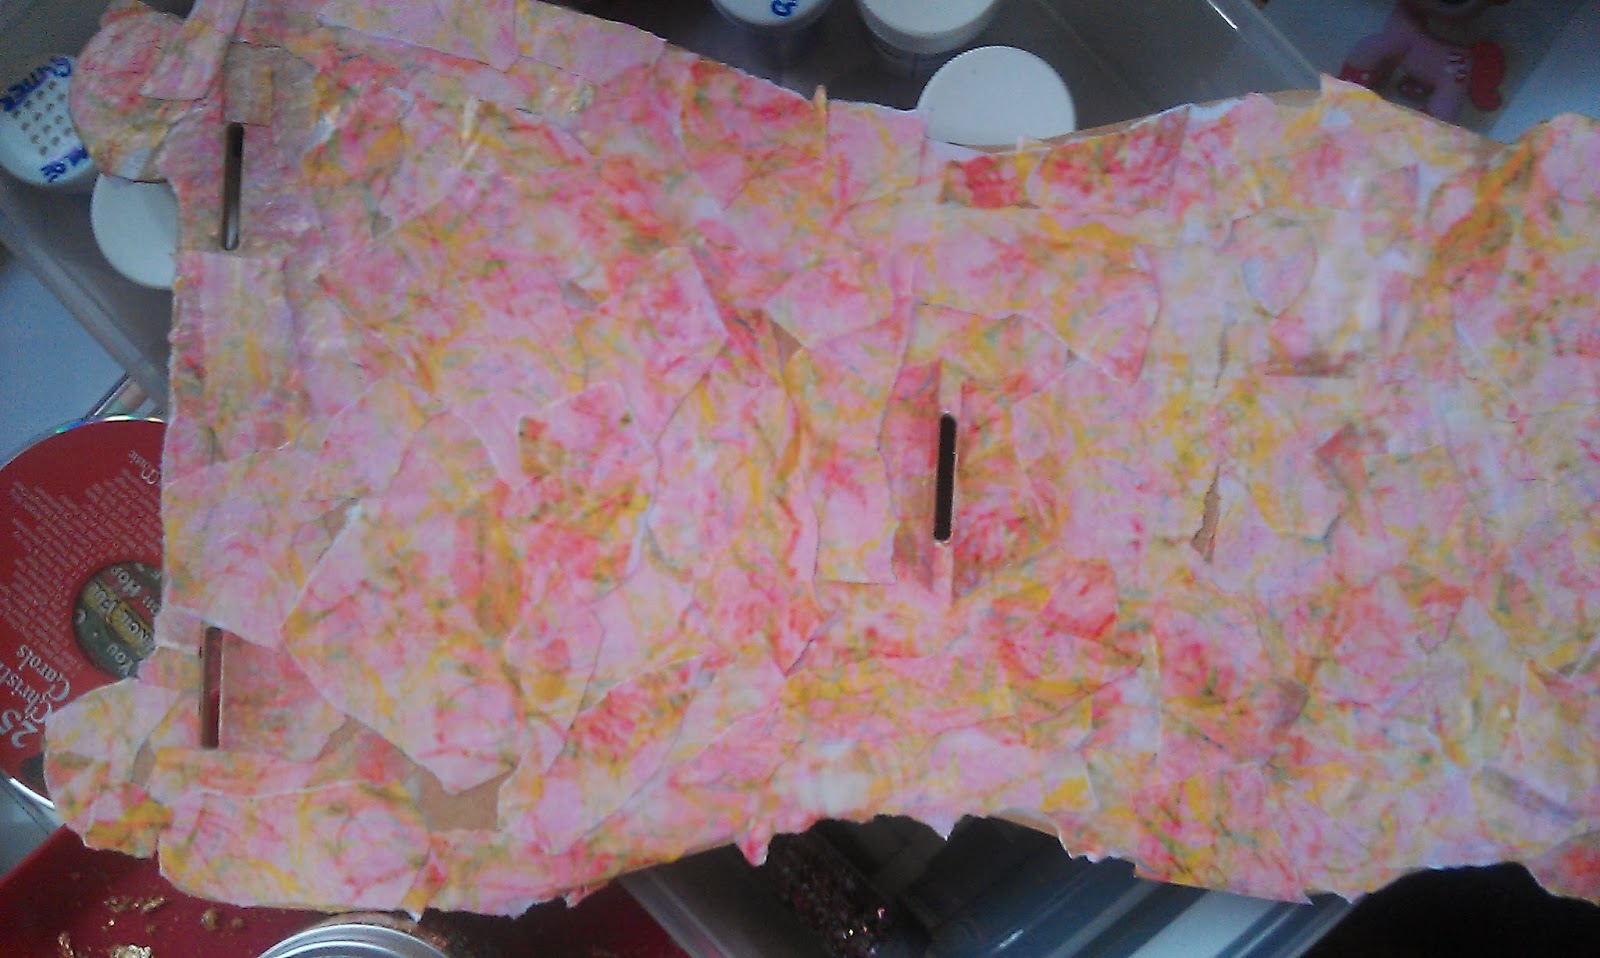
Firstly, I had to source the papers I had a vision of what I wanted and happened to come across the perfect papers on the
Crafters Companion website (Downloads - August 2013 Parisian Florals) which I went ahead and printed several pages. I ripped a few pages into various sized pieces and decoupaged both the front and back boards using
Pinflair Bookbinding glue, also sealing over with the same.
I then used various Staz On inks and wood mounted stamps from my stash to add interest to the front board, and also to distress the edges of both sections.
(Having lightly sanded the edges first) By this time my fingers had gone through stages of being sticky, inky and gilded.
(And Oh! I loved it)
The pendulum was gilded using flake and glitter glue with
Cosmic Shimmer Gilding Flakes.
 |
The front base section and the owl pendulum (static)
|
 |
| The face of the clock showing the digit areas |
|
The (front) face of the clock was also decoupaged but with a whole sheet rather than pieces. Once dry I used the face as a template to create the piece for the numerals. Having traced the face outline and the twelve circles onto pink paper I used gold numeral peel offs to create the clock digits. using my EK Sucess circle cutter to cut out the face section I then glued this in place on the rear of the face. Again, waited for this to dry before adding Glossy Accents to the digit openings. Once dry I proceeded to stamp a butterly onto the face and other images with Staz On inks. I also used Staz On to ink both the plates which join both sections and proceeded to assemble the clock mechanism and the clock which I glued together with hot glue.
 |
The back section left aside to dry before trimming
|
|
Once assembled and totally dry, I added some Sweet Lilac Flowers and some Cheery Lyn die cut Flourishes which I again sealed with Bookbinding glue.
 |
The front base section and the owl pendulum (static)
Hope you have enjoyed reading this, as much as I enjoyed making the clock.
Thanks for visiting my blog page...Happy Crafting !!!
Karen x
|
|


No comments:
Post a Comment